How to Build an ADU in 5 Steps with Confidence
Build an ADU in 5 steps. Real costs per square foot, the 15 milestones, ADU types, and permit tips to plan your backyard home.

An Accessory Dwelling Unit (ADU) is an accessory building in the backyard of your main house. It’s a great way to add value to your property while providing extra space for yourself (as a home office) or family members (as a guest house). You can rent it out for extra income or move into it yourself and turn your main house into a rental unit.
To build an ADU, one must undertake a full-scale construction project. Do not let anyone fool you into thinking it is not.
Let us not kid anyone; the five steps to build an ADU sound more like stages or phases that often take months to complete:
- Decide what and where you want to build – Project & Property information
- Consider solutions – Trade-offs between options and decisions
- Document your final design
- Get your permits
- Build it
We have recently interviewed a homeowner, who is about to start her fifth construction project in the Bay Area. It took her close to a year to get ready for permit application for her 5th house! It takes time to make decisions. But the more restrictions you have, the easier it becomes. Why? Less to choose from!
*** This post was first written in March 2021 and updated in August 2024.
Build your Accessory Dwelling Unit with confidence in 5 steps
Milestone by milestone
If you want a healthy dose of common sense, and if I have any superpowers, this is definitely one of mine; we have outlined here 15 milestones that need to happen before anyone moves into your new ADU:
- Reality check: design vs estimate
- Budget approval and financing
- Preliminary design signed off
- Architectural drawings
- Structural drawings
- Permit submittal
- Paying city fees
- Building permit
- Signed contract with the builder
- Foundation: forms, city inspection, pouring concrete
- Framing stage: walls, roof, windows and doors
- Rough plumbing, electrical, mechanical (bathroom fans and HVAC)
- Insulation
- Drywall
- Final inspection signed by the city building inspector

With a modular accessory dwelling unit, the milestones will look slightly different:
- Reality check: design vs estimate
- Budget approval and financing
- Signed contract with modular builder
- Design signed off, upgrades selected
- Site-specific plan set prepared
- Permit submittal
- Paying city fees
- Building permit
- Foundation: forms, city inspection, pouring concrete
- Rough plumbing, electrical, mechanical (bathroom fans and HVAC)
- Getting a traffic permit to crane the unit
- Unit delivery (exciting day with a crane set up)
- Connecting the unit to utilities,
- Building the deck (most modular are 2 feet above ground)
- Final inspection signed by the city building inspector
Fun fact: The construction process is the same for backyard cottages as it is for new single-family homes. The difference in California is that the State ADU Law offers ministerial approval for a secondary housing unit, while a new single-family residence will need to go for planning approval first.
What to Expect: the ins and outs of building a backyard home.
It’s hard to build a new home, but it’s usually more straightforward than it seems. The key is taking time to plan out the whole process. If you know what to expect, you can save yourself stress, money, and time. Let us consider what you should expect when building a new backyard home.

Project & Property information.
Step One: Decide what and where you want to build
Define your WHYs. Design professionals call this stage Programming.
When you start building a new home, you should take the time to do some research. You should have a good idea of what you need and what you want in a home. Sit down and think about your wants and needs and make sure you know what you are looking for.
Why are you considering the ADU? This is the most important step in the construction process. As soon as you find that personal reason, the process becomes less stressful and more successful. Promise. And it is the same for any construction project. You can read more about remodel milestones if you are interested in building a true home.
Why are you starting this ADU project? Let me give you two examples:
Say, you are building to rent. You must be super careful with numbers; this project has to make financial sense. You will look around your neighborhood to see if renting is in demand; you will check the price per square foot of the homes sold to ensure you spend a reasonable amount. You must also think hard about what finishes you use to manage your future maintenance costs. Will rental income cover your monthly expenses? Will you allow your renters to have pets? A pet-friendly rental pays better, but your flooring and walls must withstand the aggressive use.
The second scenario is when you are building for an extended family. Each family member will have an opinion on design decisions. Your design will need to address the future resident’s age, lifestyle, color, and other preferences. We see people add skylights for better lighting, even though we tell them immediately that it will increase the budget by more than $1,000.
So even when building an ADU for a family member, we advise you to watch the numbers, but we bet you will be less sensitive to budget in this case. After all, can you buy a new property here for the price you will pay for an ADU?
In some situations, even if the number seems mind-boggling initially, it still makes sense, and even your financial advisor will tell you so. Imagine you had spent $500,000 on your 800sf ADU (paying a what seems crazy amount of $625 per square foot). But you live in the neighborhood where a square foot of living space sells on the real estate market at $1,000 and gets appraised at this value. When you receive your occupancy permit, you have added an extra $187,500 to your property value ( in addition to the $500,000 you had spent on the ADU). If the rates were any better, I would suggest refinancing immediately after you complete your ADU.
To reiterate, keeping a budget when building a new home is important. It can help you make sure that you stay within it. It sets the limits to what you can do. The budget will help you to figure out the size and design. Do not be afraid to discuss with whoever is designing your house how much you are willing to spend on it. I can achieve the natural light with two sliding doors, $1,000 each, or a folding door costing $9,000 in Home Depot. The choice will depend on restrictions that you, as a homeowner, have told me to observe. Remember, anything custom size costs at least double what a regular size costs, whether it is doors, windows, or cabinets.


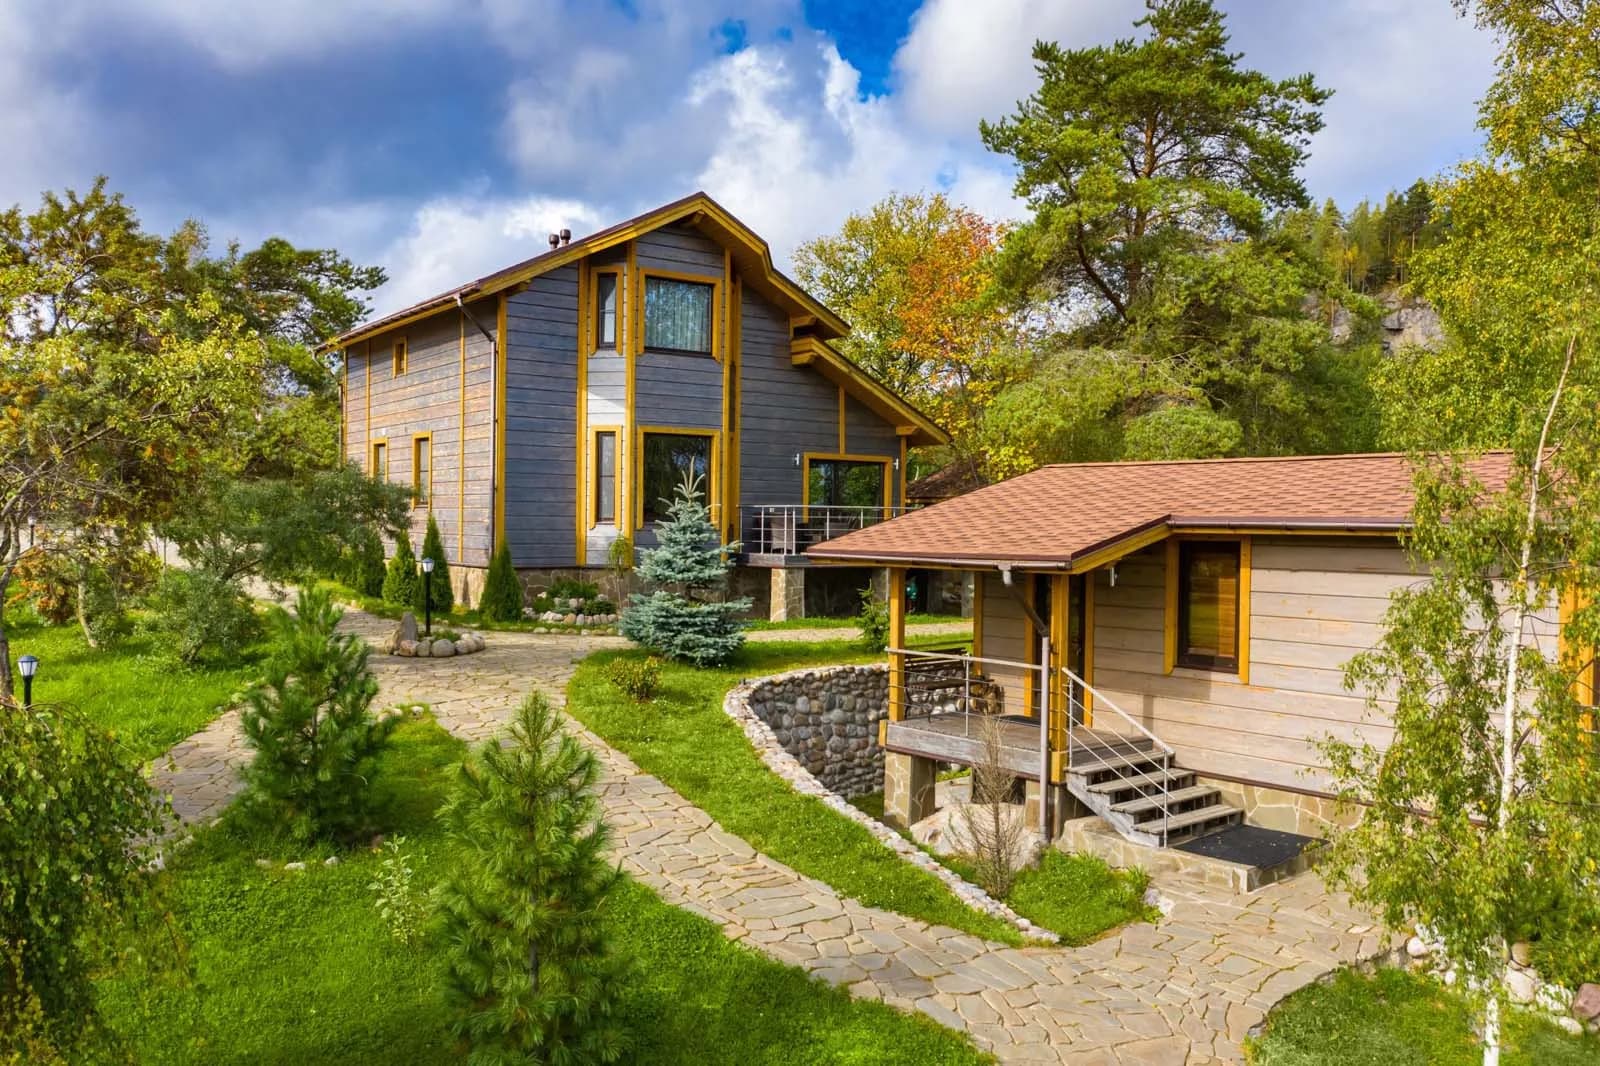
Now, it’s time to consider the type of ADU. There are different types of ADUs: an attached ADU, a detached ADU, and a junior ADU. A detached ADU is a very clear-cut project. It depends on the main home for most utilities but does not affect how you use your primary residence.
The ADU ordinance clearly defines attached and junior ADUs. The main difference between a detached and an attached unit is that the main home determines how many square feet an attached ADU will be. It can be up to 50% of the primary dwelling, maxing out at 750 sq. ft.
A junior accessory dwelling unit can only be created as a conversion of existing space—fortunately, that includes an attached garage. These interior ADUs cannot be more than 500 square feet. While attached and detached ADUs must have their own kitchen, a junior ADU can have a smaller “efficiency” kitchen, and its residents can even use the bathroom facilities of the primary home.
There is a reason that goes back centuries why the architects start with programming (what rooms, what size), then move to conceptual design and only then to detailed design and drawings (visualization).
Looking for a shortcut? Interested in some guided selection?
We have a library of 500 floor plans for you to select from. Now you can try all of them in your backyard – right now. Use the button below to see floor plans over your backyard – filter by size and room number for better search results.
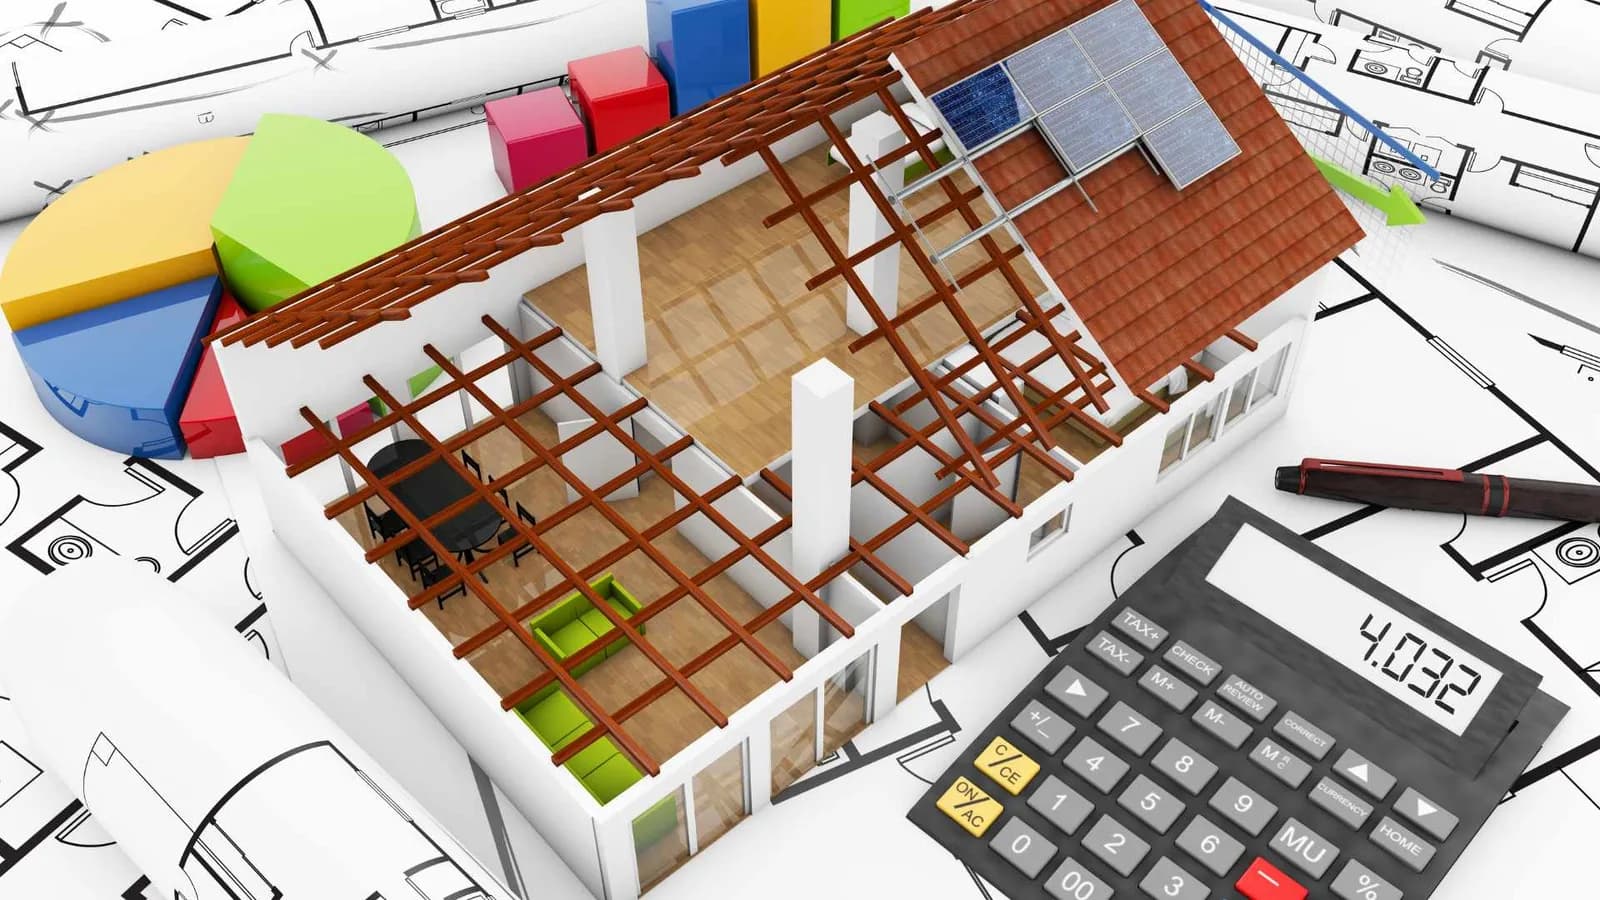
Cost per square foot to build an ADU
Cost per square foot is a bad indicator of ADU budget.
We encourage you to determine your budget at the start of your project – before you start calling the builders. In September 2020, you could definitely build a 500-550 sf ADU with the most modern design you have ever seen for $200,000, even on a lot with a slope. This is close to $400 per square foot with a fixed contract that covers everything. Today – in 2022 – the same house will set you back some $250k, if not more.
We have seen anything from $250 per square foot to $1000. In fact, the sky is the limit – one of the home builders who never builds ADUs could not say no to a client with an ADU budget of $1.5M.
Just remember that the smaller the ADU, the higher the cost per square foot.
Please check the costs for San Mateo county here.
You can also use the calculator by LoanDepot to determine how much an ADU might cost in your county.
If anyone is quoting you a much lower number, check their license and references, and ask if they have ever built a house before – not a kitchen remodel, not a bathroom remodel, not even a whole house remodel – a completely new house from the ground up.
To build an ADU without surprises along the way, these costs should be accounted for in your budget – building materials and labor:
— engineering drawings, architect and/or designer fees
— city fees for building permits and inspections
— connection to utilities (fees and trenching)
— foundation, framing, insulation, roof
— siding, windows, doors
— plumbing and electrical
— finishes (wall tile, paint, flooring)
— transportation costs and crane rental if modular
— site setup (i.e. fence, temporary toilet for the crew)
— water heater (heat pump), air conditioning unit
— solar panels (required for new construction since January 2020)
— appliances (stove, hood, fridge, washer, dishwasher)
— kitchen cabinets, closets
— landscaping
You will have to add some furniture and light fixtures on top of the above.
What exactly you need to know about your property before you sign off your ADU design?
Is your main residence in a flood zone? WUI zone? Are there any easements that run through your property? Do you have an existing site plan/boundary survey? Any chance of a soil report by a geotechnical engineer?
All this information influences your ADU design and, ultimately, your ADU cost. ADU design is not about floor plans.
If you plan to build an ADU, check with your local government first to make sure you’re allowed to do so—or ask an ADU expert to do it for you. Wouldn’t it be devastating to spend money on design only to find out during the permitting process that your property is in a high fire severity zone and an additional dwelling is not allowed?
You will need to obtain a permit from your city or County before you start construction. Check with local authorities about building permits and other requirements.
If you will be talking to the planner yourself, ask questions. When you hear no, ask more questions. Why? There is always a solution. A different foundation type. A different dwelling type. Sometimes, even setbacks can vary within one city. For example, Los Altos has an exception for small lots that allows smaller side setbacks. Who knew? Oakland has special regulations for small lots, too.
Determine how much land you have available.
Before you begin planning your ADU, determine how much land you have available. The amount of space you can dedicate to this project will help you decide whether to build a freestanding structure, attach it to your home, or convert existing space (garage, basement, dining room, or spare bedroom).

Attached ADU, Detached ADU or a conversion of existing space?
A freestanding unit has its own foundation and is not connected to your home. There are several benefits of the freestanding units that make them more attractive than attached ADUs:
- They do not affect taxes on the main structure in most jurisdictions (check your local Assessor’s office to be 100% sure)
- They depend less on the utilities in the main house.
- They do not cause any demands from the cities to upgrade plumbing, wiring, or lighting fixtures in the main house.
Conversions are typically the least expensive options because they require less materials and labor. However, if you are considering a garage conversion, watch out for structural integrity.
Why some builders charge for a feasibility report?
Any modular builder will charge you for the feasibility report – and the costs range from $1000 to $4500 – because it takes time and knowledge plus in case of a modular unit, only 30% of lots are feasible for use of the crane. Feasibility report includes the analysis of your city regulations, site analysis, and in our case – several options to build – often with different construction methods.
By going with feasibility report through a single builder – you lock yourself into the construction methods and vendors that this builder knows. What if there are other options that will work better for your site and situation? We work with several vetted construction crews that cover a multitude of construction methods, and we can get you to permit faster.
Something to consider when dealing with costs per square foot:
Do small houses cost more per square foot ? Yes. The smaller the ADU, the bigger the cost per square foot.
Why do smaller homes cost more per square foot?
Do you want to know the main culprit? Fixed costs spread over a smaller number of living space. Here is an example:

Trade-off between available options and budget restrictions
Step Two: Consider design solutions
Here comes our first milestone: A reality check.
At this point, you have considered your design options and have examined schematic concept design in designer terms.
This schematic design is a reasonable basis for documenting the expected scope of work and developing a construction estimate. You can’t have one without the other.
At the next milestone II, Budget approval and financing, it will be time to determine how much you can afford to spend on construction costs.
Homeowners typically use a mix of resources to finance their ADUs – from cash to HELOC to refinancing. There are also often state or local grants that you can benefit from. Talk to a mortgage broker familiar with ADUs to advise you.

Drawings, calculations, reports, surveys
Step Three: Document your final design
Now, you are ready to sign off on your preliminary design. Have you reached the next milestone?
Let us run a quick check.
Easy design red flags at this stage?
Floor plan: The unit has a living area with space for a bed, a kitchen, and a bathroom. The kitchen should have a sink, fridge, cooktop, and hood. Is it good so far?
Exterior: Where is the front door to the unit? Think about how your future resident will walk to your ADU. The fire department will ask for a clear path to your unit. There is little leeway around it. These guys do not follow local or state laws. They are governed by federal laws that have yet to hear about the ADU revolution.
There are certain interior design details you need to catch early to avoid expensive change orders down the road
When it comes to comfort, the tiny details often make all the difference.
Think of this before you sign off your design to be passed on to your structural engineer.
As mentioned before, all the little details on the plans mean your comfort when you use the ADU after it’s completed and when you move in.
Choose smart materials. Select good quality windows for better insulation and smaller monthly utility bills. Use metal roofing and flame-retardant siding to minimize fire risk in a drier, changing climate.
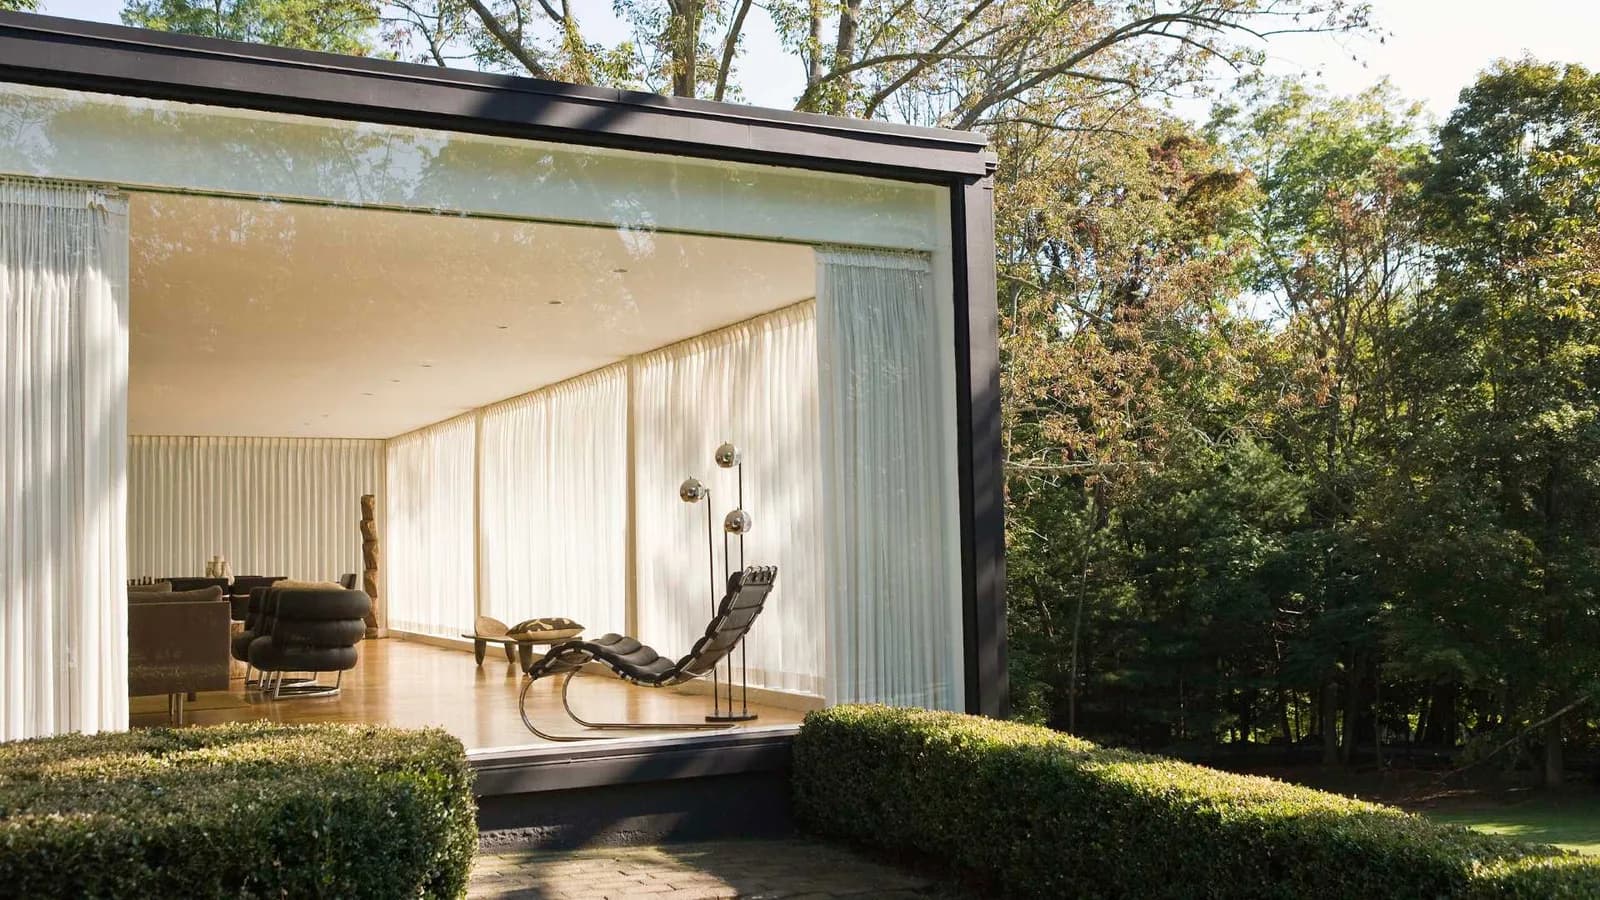
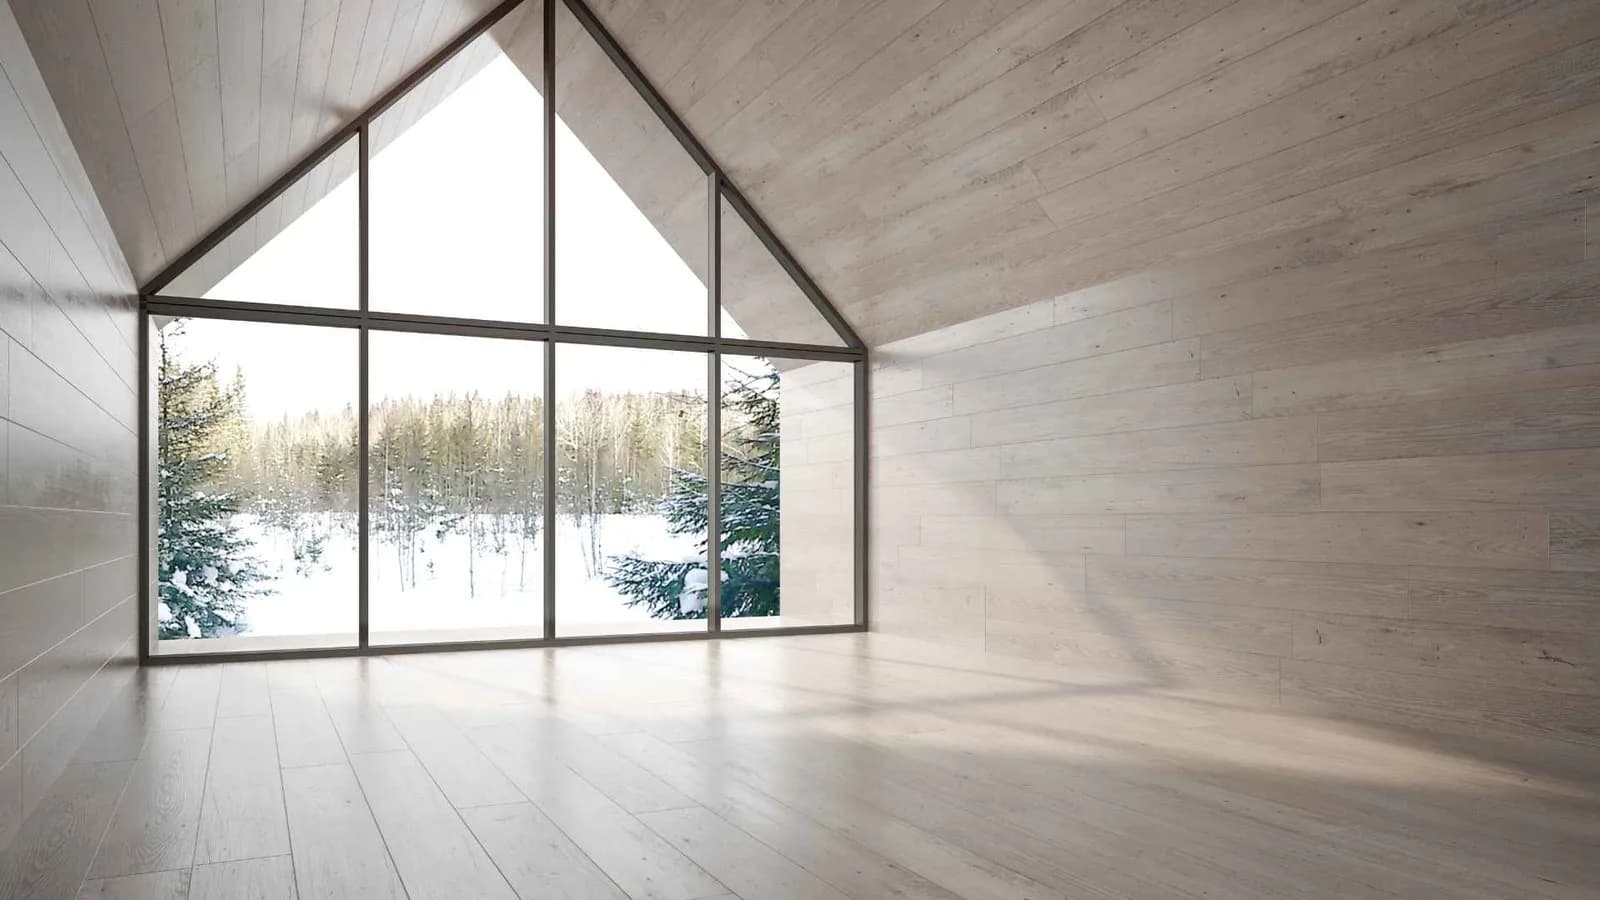
Use an open-concept “great room” design that ties together the living and dining areas, complete with bi-folding or sliding doors to take full advantage of Californian weather year-round. That said, ensure you have egress windows and doors to make the Fire Marshall happy during the permitting phase.
Let natural light in; though it is a balancing act with Title 24 energy efficiency compliance, stretch it as far as possible. Obviously, it is easy when you have an unlimited budget to select vaulted ceilings and floor-to-ceiling windows. However, you can achieve the same effect by taking regular-size 8-foot-high doors and placing transom windows above them. ADUs are compact homes, but it is incredible how much bigger the rooms feel with higher ceilings than they actually are.
Use the same type of flooring for a seamless transition. I hope you are squeezing a patio into your design. If yes, have the tone of the floor pick up on the tone of the outside, so when you do have an inside-outside room, you don’t go from one extreme contrast to the next.
Think of storage upfront. Use cabinets to hide appliances and achieve the clean look everyone covets these days. On a budget? Check IKEA. You can achieve a lot if you tell your designer upfront that you must fit IKEA cabinets between walls. After all, these cabinets do come in standard sizes. Design with standard cabinet sizes is more complicated when working with existing walls, as in garage conversions, but even then, it’s not impossible.
Custom-built cabinets are expensive. However, by planning for storage at the design stage, you can save money in the long run.
Is design development complete? Time to proceed to architectural drawings, milestone IV.
Before you sign off your designer or architect, go through the drawings together item by item to ensure everything got noted during the design phase. All taken care of? Time to get your structural engineer to work on the structural calculations and drawings: Structural drawings milestone V.
Title 24 is a separate report that is part of the plan set. It does not replace the Calgreen checklist, which has to be filled in with features you plan to build marked up.
Only when you have all this in one PDF will you have a complete plan set—construction documents ready for processing by the local planning and building departments. Congratulations, you have arrived at milestone VI.

Step Four: Permit submittal
There are several forms to complete when applying for a building permit. But first, let us decide who is applying for the permit. You as an owner-builder? Your architect, designer, or contractor? A permit expeditor? Whoever this professional is, she should be motivated to ensure you get the permit and not charge you by the hour as soon as she receives a comment from the city.
Milestone VII: Paying city fees
When it comes to ADUs or any other construction projects, planning and building plan checks and permit costs are traditionally covered directly by the homeowner. The County charges plan check fees when they start processing the permit application, and once the review is complete and they are ready to issue the permit, they will charge building permit fees. These plan checks and building permit costs are typically excluded from contractors’ contracts, mainly because one never knows what they will be like when signing the contract. We can offer the best guess estimate at best.

Building permit, contract, crew mobilization
Step Five: Construction
Finally, you get a call that your building permit is ready. Building permit milestone VIII was reached.
Who is pulling it? In other words, who is taking on responsibility for this construction project? You, as a homeowner? Or your contractor? If the latter, the contractor will need to carry or buy the local business license. In some cities, it takes a day; in Berkeley, it might take a good four weeks.
Now, it is time to check and confirm the scope of work. The city might have made some comments requiring updating the construction scope and budget.
Time for your next milestone: Sign the contract with the builder.
Wait, who is doing construction administration, scheduling, and supervision? If you do not immediately know the answer to this question, it will be you. Sorry.
Schedule vs milestones vs inspections vs payments
These days, the contractor often does not own a schedule; he relies on his suppliers and vendors—unless you do your homework and have everything stored in the backyard that he needs to build without interruptions.
Several items are vital.
Without exterior doors and windows, one cannot complete the building envelope and proceed from framing to insulation.
The absence of shower valves will prevent you from passing a rough plumbing inspection, which is one of the first inspections to pass.
Your electrician must know the amperage of the kitchen and laundry appliances to ensure he installs the correct wiring at the rough stage, straight after framing.
Detailed layout of the kitchen. Your plumber has to know where to put vents and water pipes.
A couple of words on inspections and payments. My rule of thumb is to tie payments to the milestones and milestones to inspections. What are the typical milestones?

Typical ADU construction milestones are usually found in a job card that reflects all necessary city inspections:
X Foundation
XI Framing stage: walls, roof, windows and doors
XII Rough plumbing (all faucets and valves), electrical (all wiring for outlets and switches), mechanical (bathroom fans and HVAC)
XIII Insulation
XIV Drywall
XV Final
Thus, your payment schedule should include several of those milestones, and please make sure that the last payment is at least 20%. You don’t want your contractor to lose interest in your project just because there is not enough money left and some new and shiny project is looming elsewhere. You’d be surprised how often this happens if you have just 5% as the last payment.
As a homeowner, you are looking forward to a completed unit and to someone moving in. Your contractor should provide a completed unit with an occupancy permit. And yes, your final payment should be contingent on this.
An accessory dwelling building (unit) is a second dwelling on a single-family property. It’s a great way to add value to your property while providing extra space for yourself or family members. To make it happen, one has to take on a full-scale construction project. We have covered what you need to know before going through the process. It will help you know what to expect before, during, and after starting to build your ADU. Look for these 15 milestones when building your Accessory Dwelling Unit (ADU) or house. The milestones are universal.